Sharp’s new Advanced Series machines include a built-in Sharp Serverless Print Release feature, commonly referred to as Follow-Me Printing.
Users can print to one machine where the job is stored, then walk to any of up to ten connected machines to release the print. The biggest advantage is that this feature is free of charge and requires no additional software or server. It only requires Sharp Advanced Series printers.
Video Walkthrough to Set Up Sharp Print Release
Step-by-Step Instructions for Sharp Print Release Setup
-
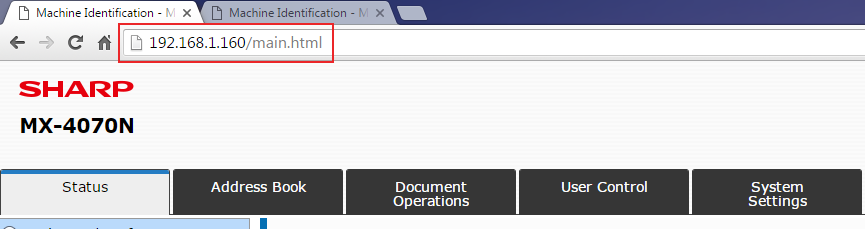
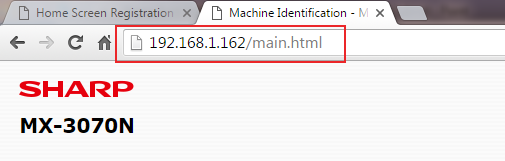
Open the web pages for all Sharp devices.

-
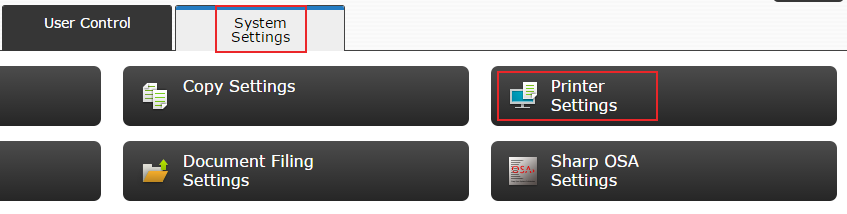
Click System Settings, then Printer Settings.

-
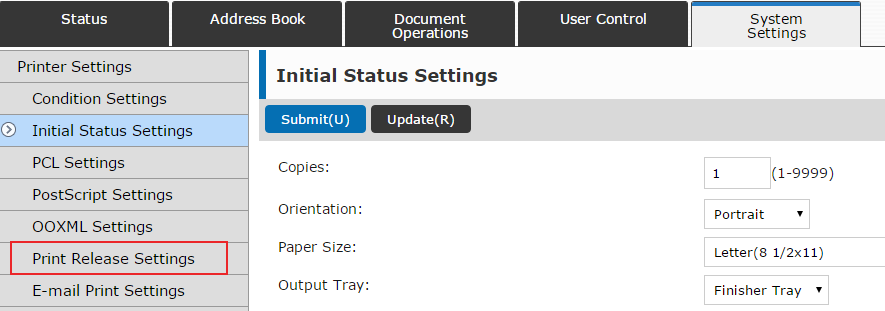
Click Print Release Settings from the left menu.

-
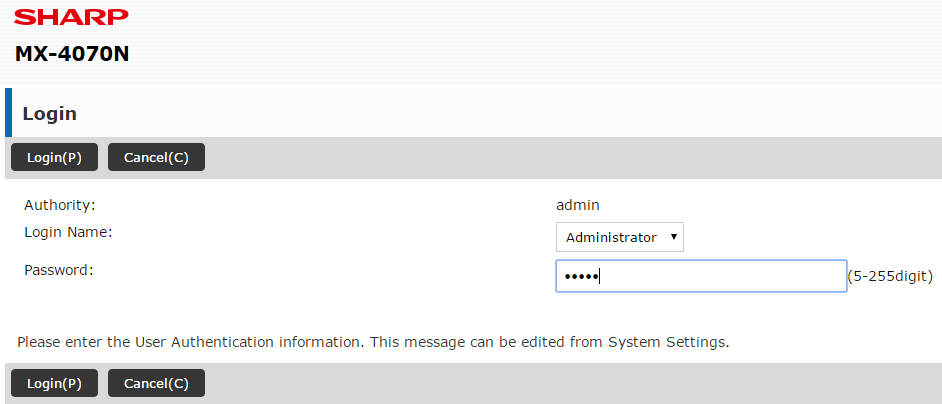
Log in as Administrator. The default password is admin.

-
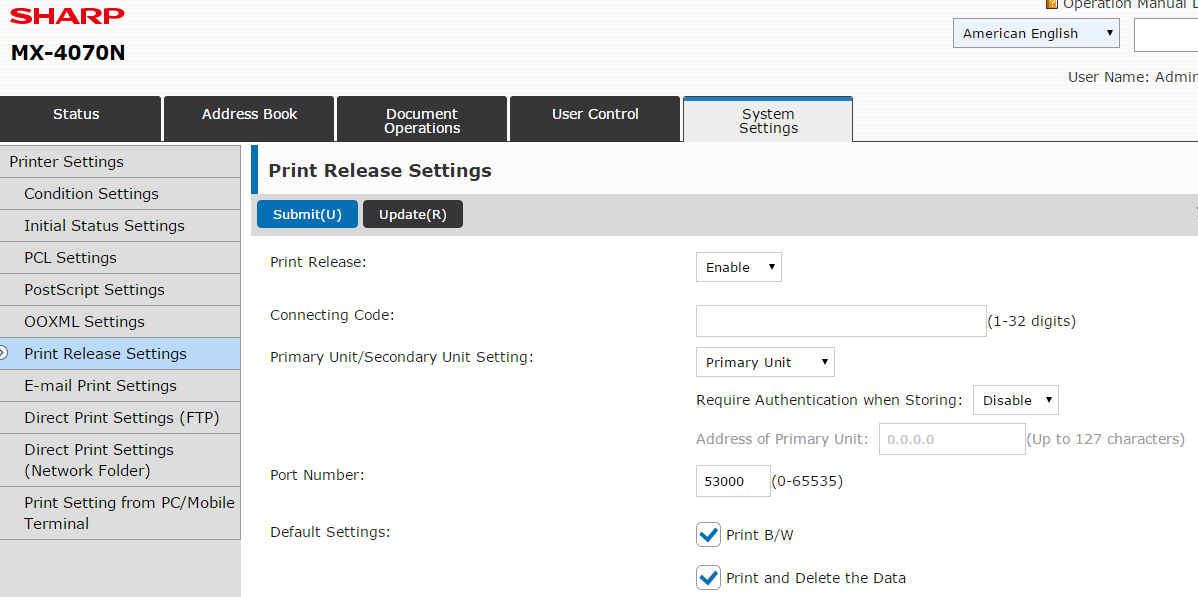
Enable Print Release and leave the setting as Primary Unit, then click Submit.

-
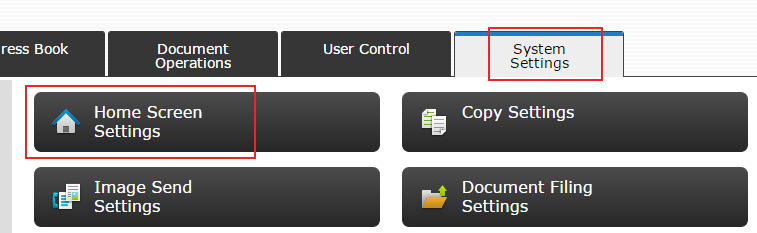
Click System Settings, then Home Screen Settings.

-
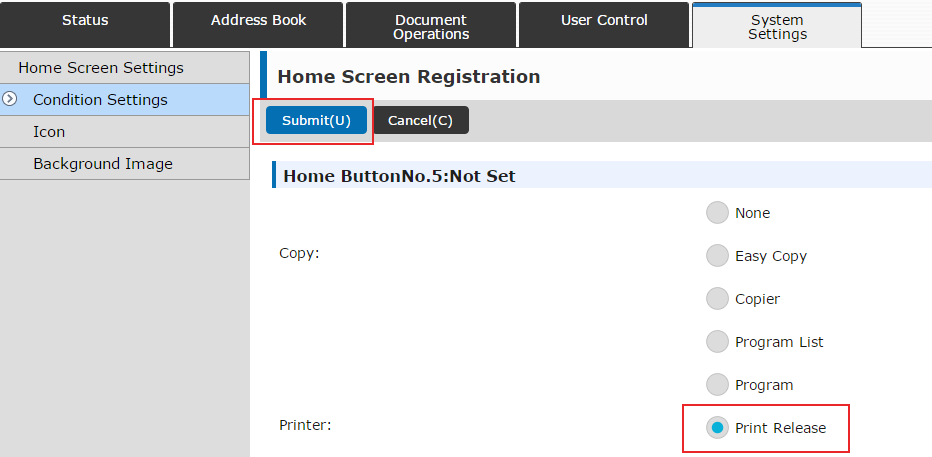
Scroll down and select a Not Set option.

-
Change the option to Print Release and click Submit.

-
Move to the secondary Sharp machine’s web page.

-
Enable Print Release as a Secondary Unit and enter the IP address of the Primary machine.

-
Print to the Primary Sharp printer and enable Print Release in Preferences.

-
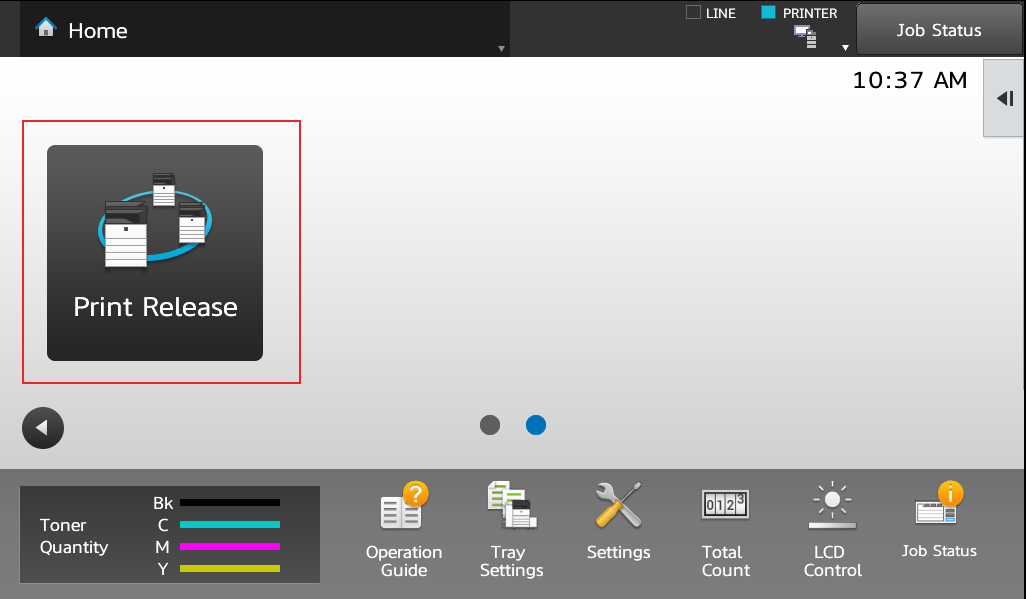
Walk to any connected Sharp machine and tap Print Release.

-
Select your job, adjust preferences if needed, and tap Print.


This concludes the setup procedure for Sharp Print Release.


Kimberly Gonzalez founded Platinum Copier Solutions in 2007 after building her career in the copier and office equipment industry, which began at just 19 years old, selling Xerox copiers. Her early hands-on experience sparked a lifelong passion for document systems and office technology, ultimately inspiring her to launch her own company. As the 100 percent owner, Kimberly continues to lead Platinum Copier Solutions with a clear vision and commitment to quality.